About a decade ago, we made grand plans to build a little farmhouse on our plot of land in southern Tennessee. The old cabin had been there for a hundred years or more, and several members of my family, mostly my mother, refused to stay amongst the hoards of rats and mice any longer. Wood ain’t cheap, it’s not, so my father and I set out to find an alternative: something that resonated the look and feel of our hillside farm. As luck would have it, an old barn, older than the cabin, was leaning a little too far to the left for anyone to feel safe walking into its hallway.
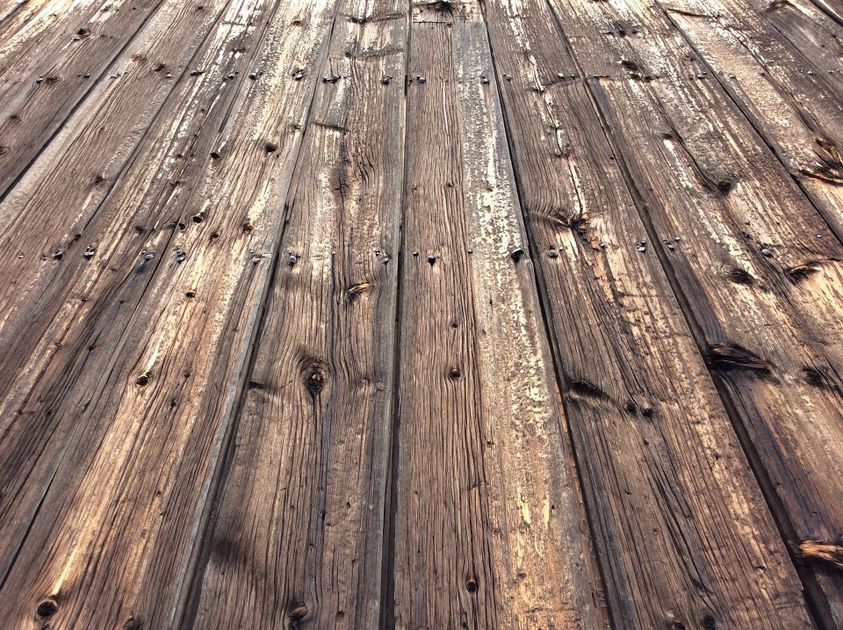
For weeks, we carefully removed what salvageable planks we could from the barn with claw hammers and crowbars. Folks who built it weren’t too particular what kind of wood they used to raise the old structure, so we found ourselves with a collection of cherry, poplar and would you know it, American chestnut! (An aside: A little over a century ago, the American chestnut was the predominant tree in the eastern United States only to fall victim to yet another invasive species - blight from the Asian chestnut. In just over 40 years, the illustrious American chestnut was no more.) While the barn’s infrastructure had become withered, the exterior wood had developed that much sought-after gray patina and was still in really good shape.
When we were finished removing the slats, we hired a contractor with a good reputation in working with old wood. This was important. Most general contractors have no idea how to work with old wood because it’s such a new trend. An oxymoron, but the truth. Varnishes and oils will darken the wood and steal its allure. Pastes and wax will have similar effects.
I’ll never forget my father standing on the home site, drawing out a floor plan on a yellow legal pad. The contractor understood, there was a handshake, and construction began the next week. Usually, it’s not that simple, but we just happened to be in the right place at the right time.
Today, old barnwood is becoming harder to find as its variety of trendy uses are walls, shelves, beds, tables and many more interior aspects of the house. If you can find it for a reasonable price, you’re lucky. If you own a ranch or farm and have it to spare, you’re luckier.
How to Install Barnwood on Your Interior Walls
Using reclaimed wood on your walls introduces a natural element into your home. It can be made to look rustic or modern depending on how you place them and what wood you use. Whether you plan to cover all the walls or are just wanting to cover one single wall, the trick to making it look good is to keep it simple. You’ll be surprised how much character can be added to a room with reclaimed wood. But before you jump in and begin, it’s important to make sure you have all the materials you’re going to need.
Your materials list may vary, but here is a list that should cover most projects.
Materials
Reclaimed wood
Tape measurer
Pencil
Miter saw
Caulking Gun
18 gauge brad nails
Gauge brad nail gun
Level or straight edge
Measure and Choose Your Wood
No matter where you get your wood, you’ll want to choose boards that are as light as possible. You’re going to be lifting and holding these onto one or more wall so heavier boards aren’t as feasible. Thin boards are good, but you don’t want them so thin that they will bow over time.
Clean and Prep the Boards
Once you’ve gotten the wood you’re going to use, it’s time to bring it home and prepare it for going on the wall. Old barnwood should be cleaned with a hard bristle or steel brush to remove any dirt and grime that has accumulated over the years. After, give the boards a good wash with a solution made from borax and water (10 ounces of borax to six ounces of water). Let them dry completely. A good place to dry them is outdoors in direct sunlight. If you can’t lay them outdoors, they can be placed inside in a covered area. The time it takes to dry will vary from a few days to a week depending on where they dry (outside will dry faster).
When the boards are completely dry, lightly sand them to take out any splinters. Sanding will also help bring out the knots and the rich grain of the wood. Whether or not to treat or stain them is up to you. Generally, reclaimed barn wood is left alone.
Prep the Walls
Now it’s time to get the walls ready! If you’re using old barnwood, it’s best to paint the walls black, brown or grey. You don’t want white showing through the cracks of the wood. Of course, if you’re painting the boards white you will want to have white walls underneath. If you’re planning on placing your boards vertically, you will have to install horizontal strapping for them to be nailed to. The strapping will be placed on the studs in the wall, about a foot apart.
Cut the Wood
If you’re installing vertically, you’ll want your boards to be cut all the same length. Horizontal design can be left the same length, or you can get creative and have boards of all sizes on your wall. Once everything is planned, measure twice and cut the boards with the miter saw.
Put It Together
It’s time to put your boards on the wall! If you’re placing them horizontally, begin by starting at the bottom of your wall and work your way up. The design you outlined in pencil or chalk should help you out when you’re placing them on the wall. This will also give you the chance to see if certain boards and sizes look good next to each other. Before securing them to the wall with the nail gun, use the level to make sure everything is level. Most of the time the thin boards will lay flat but you will want to be sure. Once you’re finished, you can touch up any areas with some paint.
When installing, don’t worry whether it looks perfect. The purpose of using reclaimed wood is supposed to give it that rustic feel. You’ll be surprised by how everything turns out.


